As a cat, it is my job to observe and report. I came to live with these strange and wonderful people a little over 4 months ago. They like to eat as much as myself and I feel that their recipes should be shared. The giant hairy one ("Litter Scooper") is more of an improviser in the kitchen and the short one (whom I call "Food Bestower") is more precise and experimental.

Here I am compiling a blog post. My name is Zoe.

INGREDIENTS
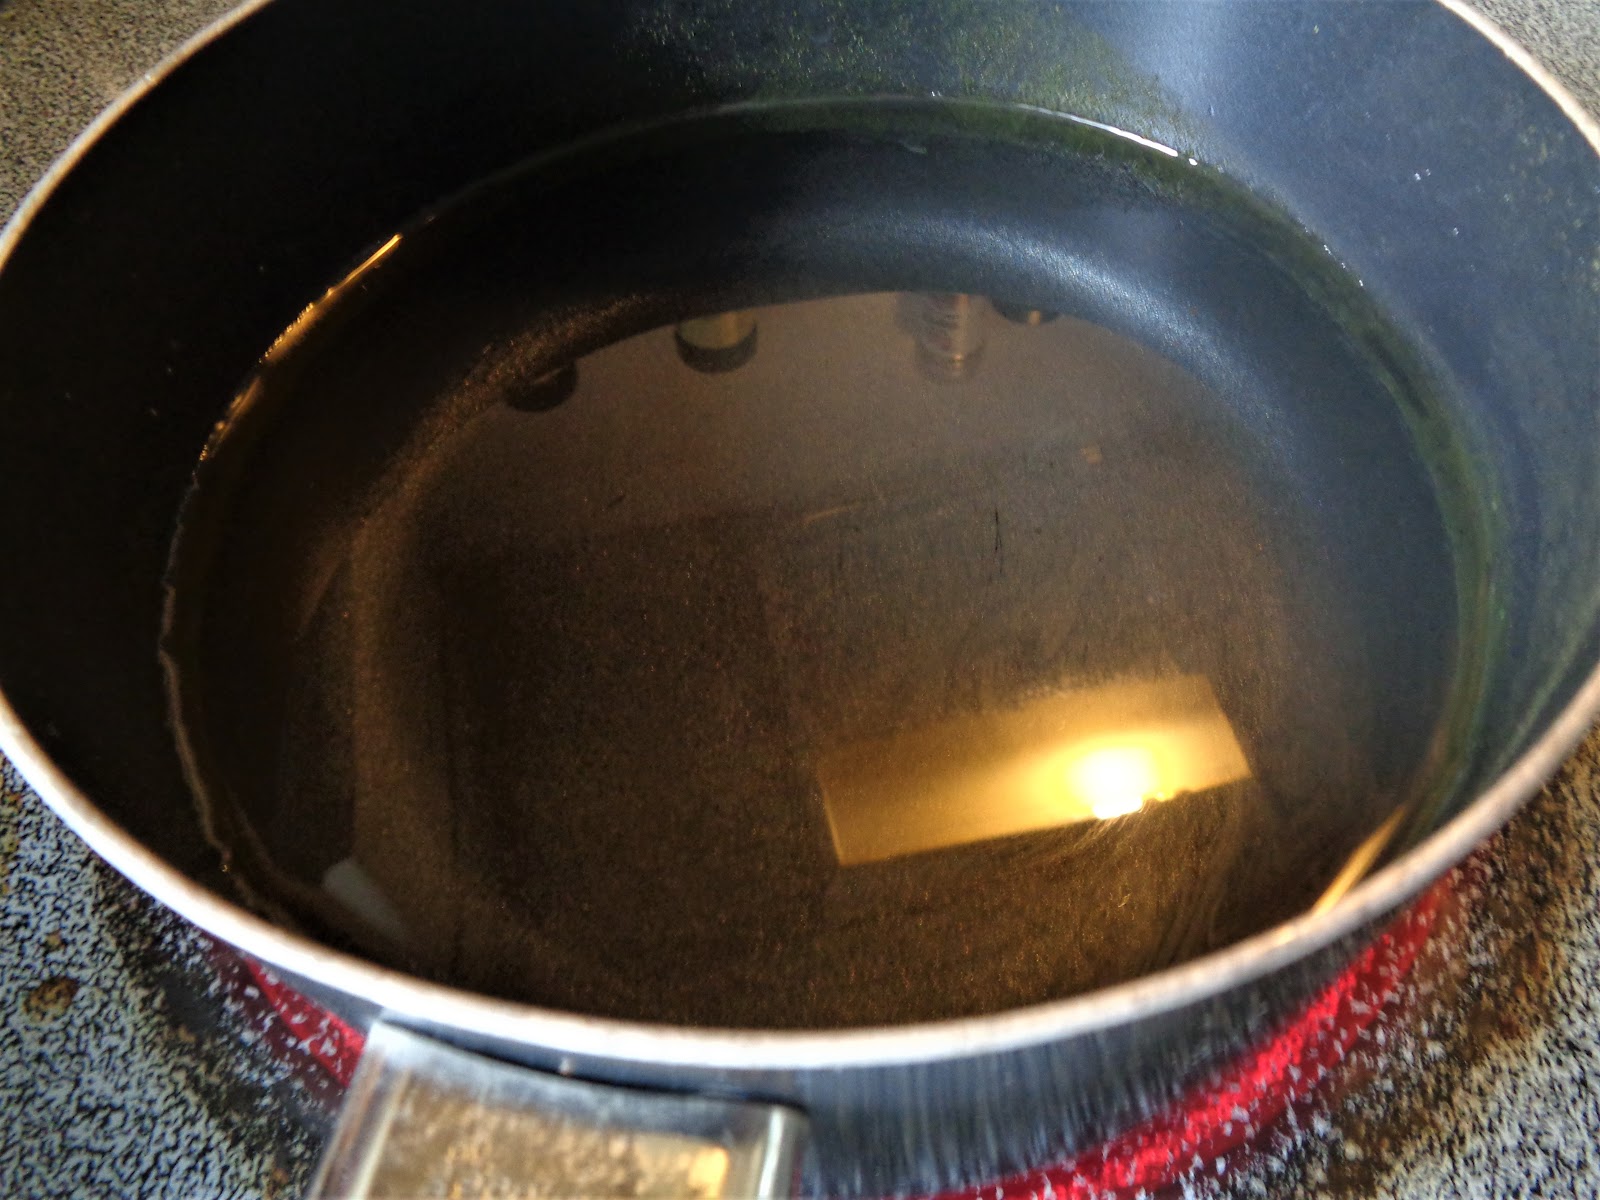
1. Chicken Broth
2. White Wine
Note: When cooking with wine make sure it is a wine that you like to drink. As it reduces the flavors will concentrate. The wine pictured is a Francis Coppola Pinot Grigio 2016.
3. Olive Oil
4. Butter
5. Capers
6. Eggs
7. Lemons
8. Chicken
9. Garlic Paste (not pictured)
9. Garlic Paste (not pictured)

You want to start by pounding your chicken thin. This helps tenderize it and makes an even surface for coating and cooking.

Wrap the chicken in cling film. Always wash your hands when touching raw chicken to avoid cross contamination.
Pound the chicken with your kitchen mallet until both pieces are a consistent size.

Crack two eggs on a plate. Season with pepper and salt.


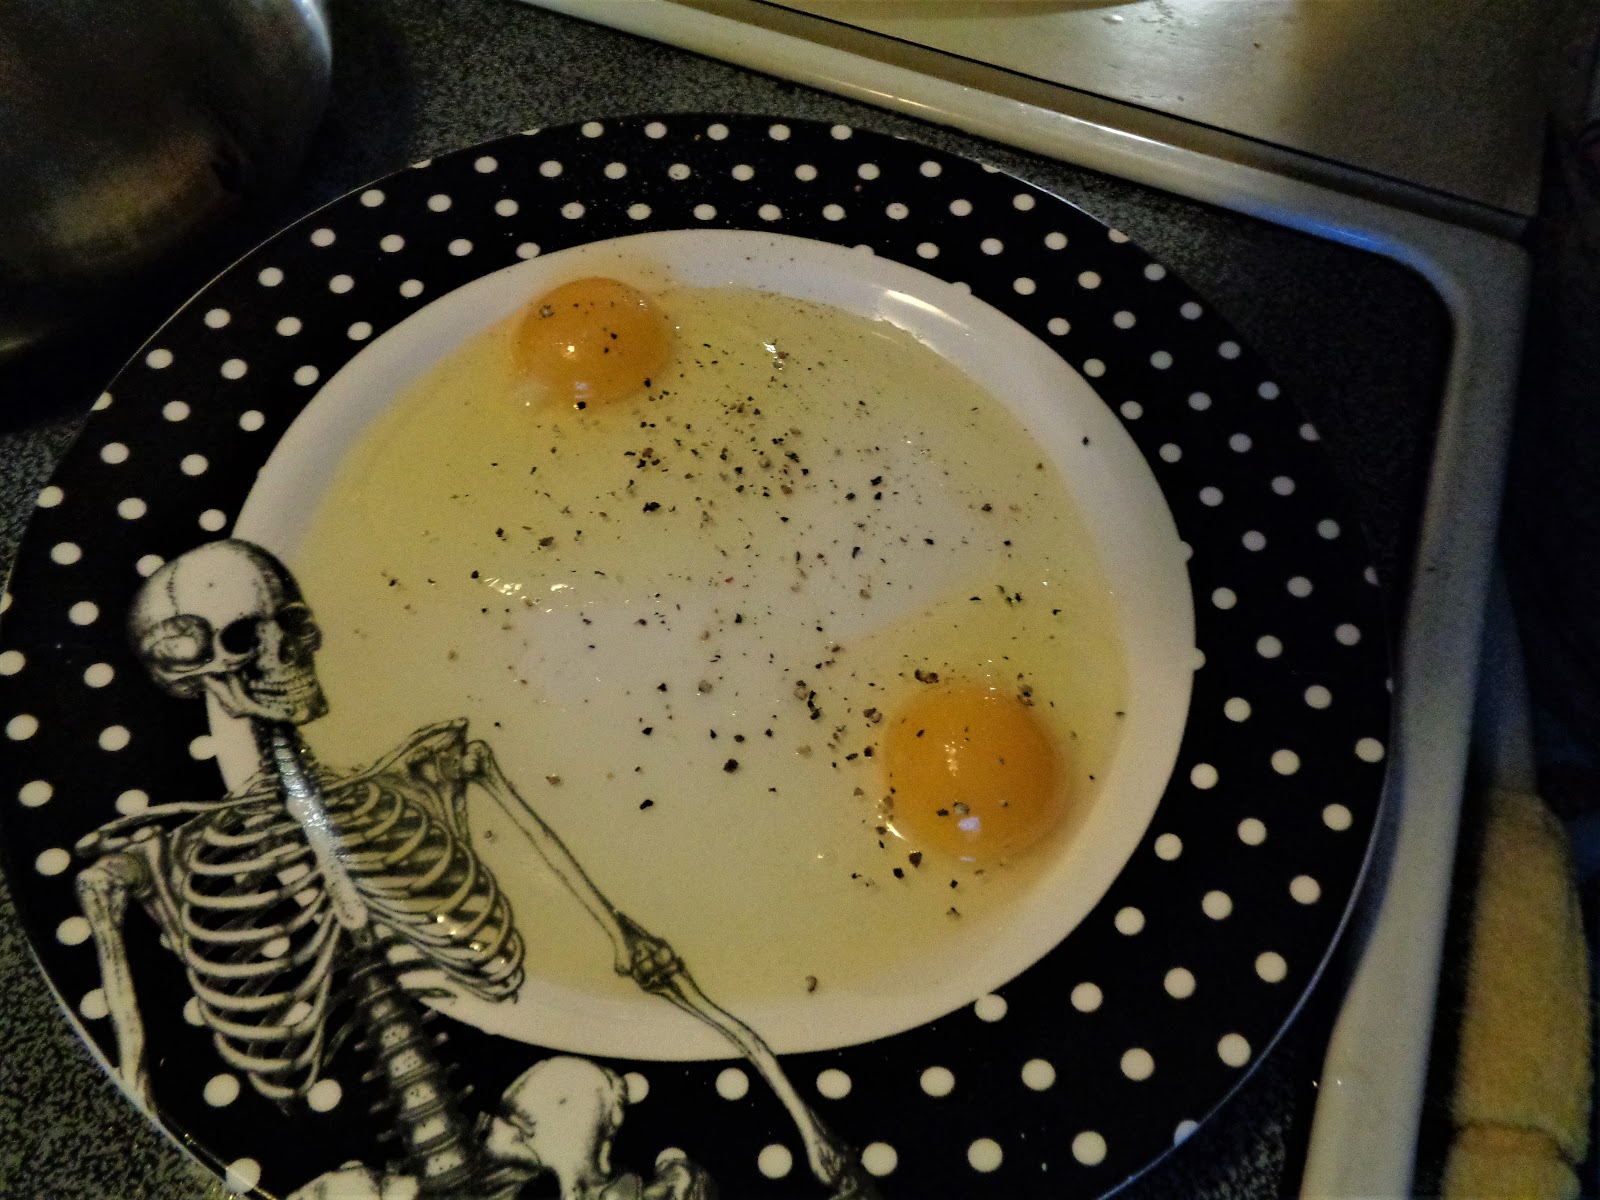
Only use a pinch of salt as a majority of salt will come from your capers.

Mix the eggs vigorously with a fork.

Oil a frying pan with olive oil and turn to high heat. Dredge both sides of the chicken in the egg mixture.

Cook the chicken until golden brown on both sides. You do not have to cook it all the way through at this point. Preheat oven to 320 degrees. Have a glass casserole dish on standby.

Melt a pat of butter and baste the chicken with a spoon.

Finish cooking the chicken in the oven on the center rack. Keep an eye on it so that it doesn't dry out. They had it in for about 10 minutes. Nothing's worse than dried out chicken... except canned dried out chicken.

Two pats of butter were added back to the frying pan that the chicken was cooked in.

And a teaspoon of garlic paste.

Add a cup of chicken broth.

And a 1/2 cup of white wine.

3 teaspoons of capers ought to do it.

Make sure to roll your lemons to get the juices evenly distributed.

Slice in half.

Squeeze juice into pan. I tried to remind them to save the juiced lemons for zesting, but my plaintive pleas were met with puzzled looks and I harrumphed out of the kitchen.

A tablespoon of flour was added as a thickening agent and had to be whisked vigorously. The large hairy one seemed skeptical and remarked that it didn't seem to be, "the right color".

In a startling flash, he pulled out a separate frying pan and sliced in 3 pats of his fancy expensive Italian butter. He dashed in some capers, added 3 marinated artichokes, took a swig straight from the wine bottle and haphazardly splashed some wine into the pan.

He lauded his cooking skills quite vocally and danced ingloriously around the kitchen doing James Brown impressions.. Meanwhile a remarkable thing was happening. The other pan was concentrating flavors and the sauce was coming together. The smaller one had stuck to her plan and it was working.


The smaller one began assembling a simple salad. She uses a peeler to make those stripes on the cucumbers which adds a lovely aesthetic. The dressing was a mixture of lemon and olive oil.


In quick succession, the hairy one retrieved his enormous frying pan and began making his, "world famous spinach". He doesn't measure, preferring to throw dashes of this here and dashes of that there.


In the end, as you can see, it all came together. They complimented each other on their different sauces and had quite a lovely meal together. I snuggled in between them and thought about how lovely and different... and yet the same they are.
There was another cat here once... before I came. There are telltale signs all around. I can see the sadness in their eyes from time to time. I try to comfort them and make them laugh. They have such huge hearts and they tell me often how much they love me. They must have loved that other cat immensely as well. By the simple act of making meals together and carrying on, they show their tremendous capacity for love.
I am a lucky cat indeed.
Until next time...