Saturday, November 17, 2018

Mike, Gina & Zoe's Home Cookin' Episode 10: Yankee Pot Roast


My name is Zoe.


I am a cat. I observe The Large Hairy One and The Small One as they make meals and I organize the chaos into easy to follow recipes. 

Let us make a distinction. A Pot Roast is just that... a roast... cooked in a pot. This can be a slow cooker/crock pot or if you are extra fancy, an Instant Pot. This is an old fashioned crock pot recipe, but it could be easily transferable to an Instant Pot mostly in that the cooking time would be greatly shortened. 

A Yankee Pot Roast is one that is served with root vegetables like carrots and potatoes etc. 


INGREDIENTS

  • 5-6 pound Chuck Roast
  • 1 teaspoon Garlic Powder
  • 1 teaspoon Thyme
  • 1 teaspoon Turmeric
  • 1 teaspoon Salt 
  • 1 teaspoon Pepper
  • 1 teaspoon Sage
  • 1 teaspoon Onion Powder
  • 1 tablespoon Neutral Oil (Grapeseed Oil)
  • 2 cups Beef Broth
  • 1 cup Red Wine
  • 1 tablespoon Worcestershire Sauce
  • 1 tablespoon Tamari
  • 3 Bay Leaves
  • Onions
  • Zucchini
  • Yellow Squash
  • Carrots 
  • Potatoes

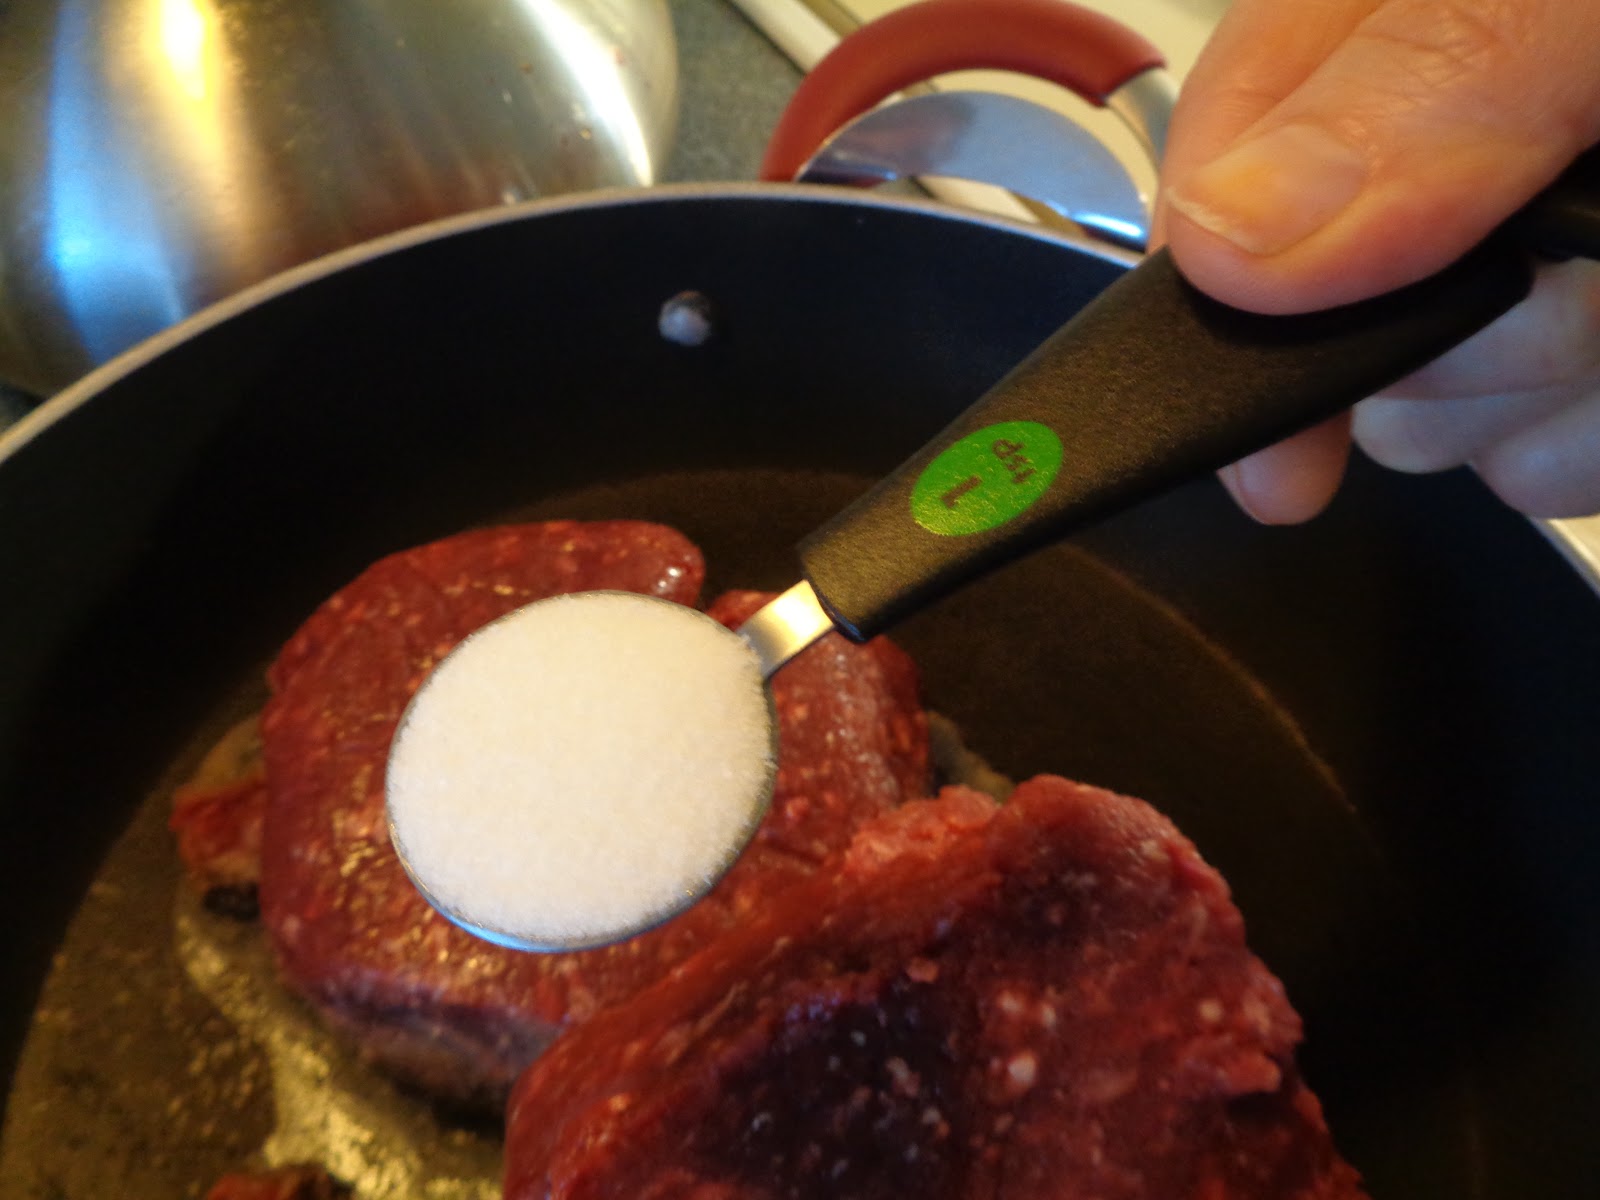
Your dry ingredients will be rubbed in by halves on both sides. For instance, you will add 1/2 teaspoon of garlic powder and rub it in to the chuck roast and repeat the same on both sides. To avoid redundancy, I will show you one side.


Add 1/2 teaspoon of black pepper or about 3 turns on a grinder. Add 1/2 teaspoon of salt evenly over the surface and rub it in.


Rub in 1/2 teaspoon of garlic powder.


Rub in 1/2 teaspoon of turmeric powder.


Rub in 1/2 teaspoon thyme.


Rub in 1/2 teaspoon of onion sage.


Rub in 1/2 teaspoon of onion powder.


Now flip your chuck roast over and go back to the top and do the same on the other side.


Add 1 tablespoon of neutral oil. They prefer grapeseed oil. Make sure the heat is on high and the pan is really hot before you put in the roast to get a sear.


Sear both sides for about 5 minutes on each side. The roast does not have to be cooked in the middle. The slow cooker or Instant Pot will take care of that. You want that sear to lock in your flavors.


Place the seared chuck roast in your slow cooker or Instant Pot.


Add 1 cup red wine (merlot/pinot noir)


Add 2 cups beef broth or chicken broth as a substitute.


Add 1 tablespoon Worcestershire.


Add 1 tablespoon Tamari or Soy Sauce as a substitute. 


Add 3 bay leaves.


Add water until chuck roast is covered.

Set on low for 4-6 hours.

For the Instant Pot, switch to "Pressure Cook" on high and set for 80 minutes for a 5 pound chuck roast. 

This is a meal that will get you through a week and great if you have a tough schedule ahead. I suggest roasting veg separately for each meal. Basically, you'll need to rough chop onions/zucchini/yellow squash/potatoes etc. and add them to a foil or parchment lined baking sheet. If using foil, you might want to give it a quick once over with a Non-Stick Spray. Salt and pepper to taste. Roast at 400 degrees for about 25 minutes. By doing this, you will have conquered the biggest issue with Yankee Pot Roast - soggy vegetables. Your family will thank you for it.

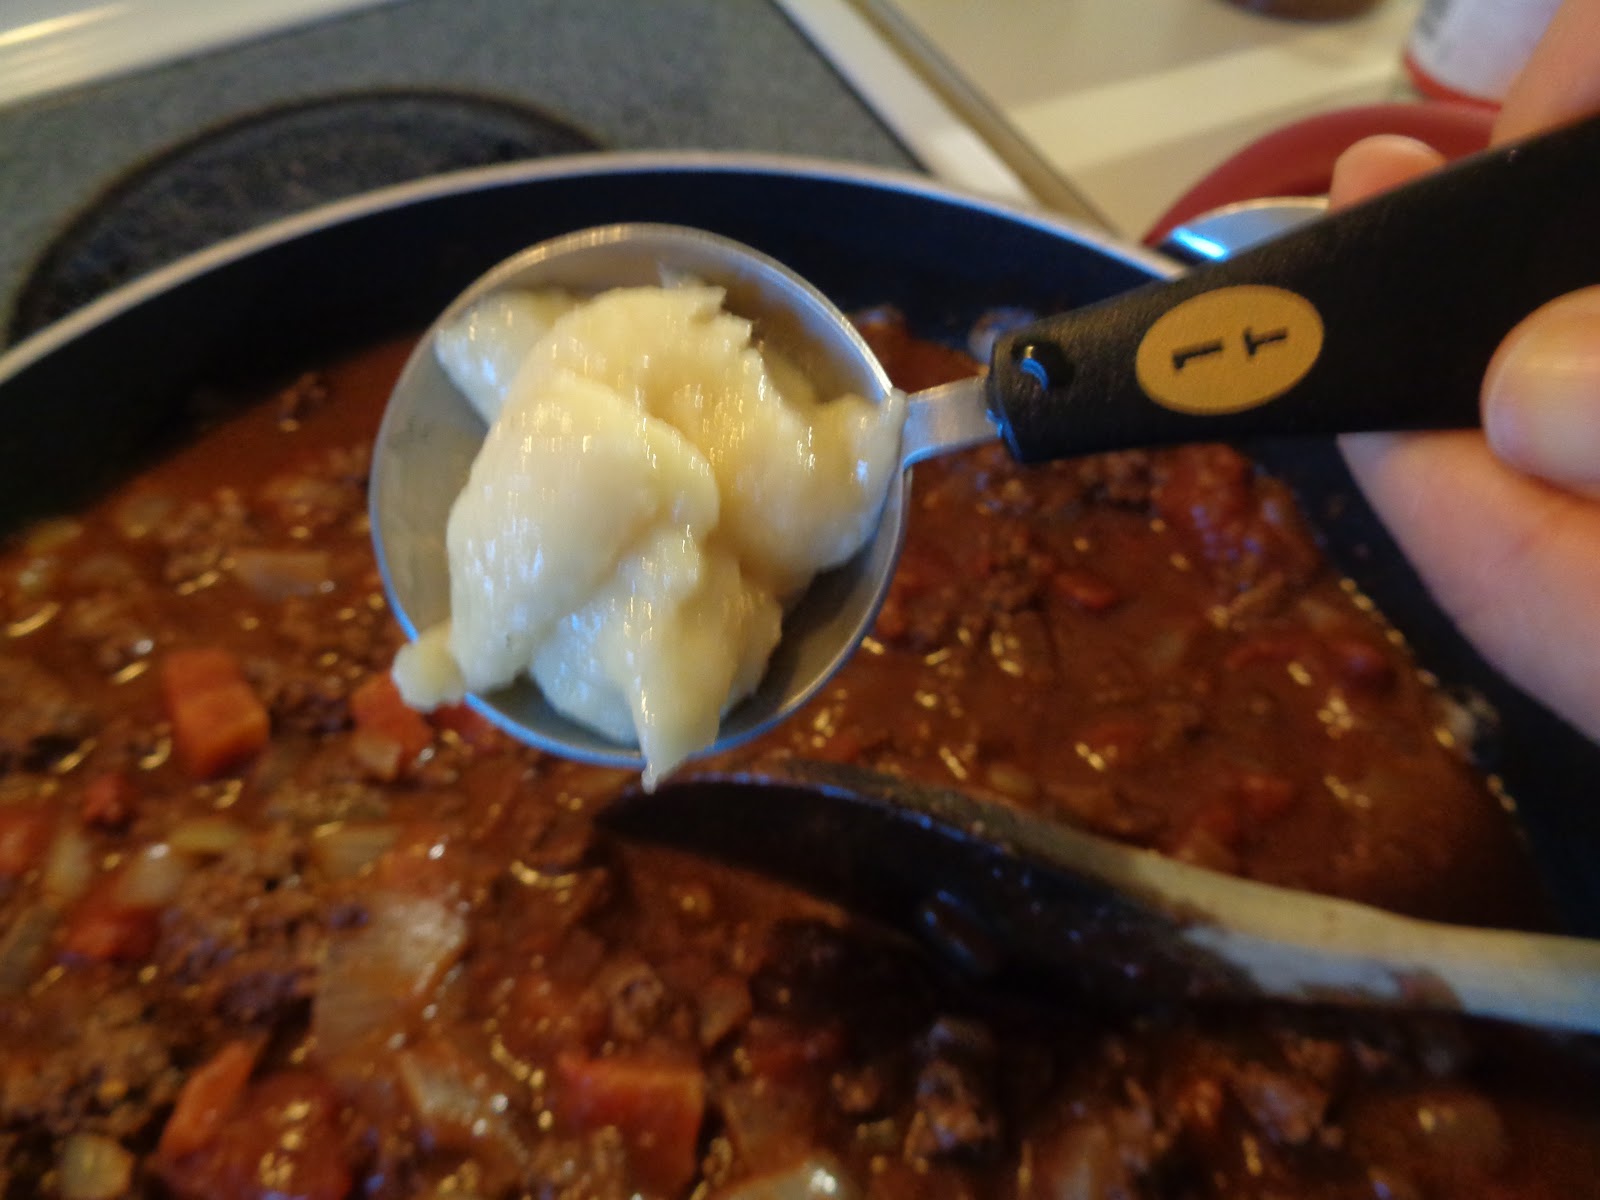
For a heartier meal, serve over rice or mashed potatoes. For a healthier option, use brown rice or cauliflower mash.


Meow for now! We wish you good eating from our family to yours.

Thursday, October 4, 2018

Mike, Gina & Zoe's Home Cookin' Episode 9: Cincinnati Chili


My name is Zoe.


I'm originally from Valrico, Florida. Today's recipe comes from Ohio.


Cincinnati, Ohio to be precise.


INGREDIENTS

2 lbs. of Ground Beef or Ground Turkey if you want a lighter version.
Chili Powder
Allspice
Cinnamon
Cumin
Salt
Cayenne
Cocoa Powder Unsweetened
Apple Cider Vinegar
2 small to medium Vidalia Onions 
Worcestershire 
Canned Crushed Tomatoes 
Garlic Paste

Searching through The Large Hairy one's internet history, I found an abnormal amount of stops on this article...


among other things...


Brown 2 lbs. of Ground Beef in a large skillet over medium heat.


Add 1 teaspoon of salt.


Cut 2 small to medium Vidalia onions into chunks and add.


Add 2 tablespoons Chili Powder.


Add 2 teaspoons Allspice.


Add 2 teaspoons Cinnamon.


Add 2 teaspoons Cumin.


Add 1 teaspoon Cayenne.


Add 3 tablespoons Cocoa Powder Unsweetened.


Add 1 tablespoon Apple Cider Vinegar.


Add 1 tablespoon Worcestershire. 


Add 1 28 ounce can of Crushed Tomatoes.


Add 1 cup of Water to the can, swirl and add. You could substitute 1 cup of stock if you so desire.


Add 1 tablespoon of Garlic Paste.


Mix everything well and let simmer.

This is one of those dishes that gets better throughout the week. There are many complex flavors that benefit from being reheated multiple times. It's also a versatile dish. You could serve it over a large baked potato with a dollop of sour cream or Greek yogurt. Scallions are always a nice addition if you go that route. You could make Chili Cheese Dogs or Chili Cheeseburgers. You could serve it over spiralized zucchini noodles or a portobello mushroom. 

If you sub out the ground beef or ground turkey with red kidney beans, you could make it a Vegetarian dish. 

I am quite content with my Hill's Science Diet and an occasional handful of Feline Greenies Smart Bites, but hoomans need variety in their diet. 


This is The Large Hairy One's favorite presentation. Cook spaghetti noodles in boiled and salted water for 8 minutes, add Cincinnati Chili and a fistful of shredded cheese. I believe it is traditional to have some diced raw onions on top, but as I sit downwind of him and raw onions fill him with gas like the Hindenburg, this is not the best option for us. 

The whole thing comes together in about 20 minutes. It gets better through the week. It's versatile. It's also relatively inexpensive, provided you have a well stocked spice cabinet. 

Winner, winner chili dinner.

Enjoy!

Tuesday, October 2, 2018

Mike, Gina & Zoe's Home Cookin' Episode 8: Buttermilk Biscuits


I am Zoe. I am the second hairiest one in the photograph above. We all have our roles when it comes to the blog. The Small One does most of the work. The Large Hairy One takes photos and videos. It's my job to put paws to keyboard and bring it all together.


Today's recipe is...


Here is a photo of the assembled ingredients.


INGREDIENTS


Unbleached All Purpose flour
Baking Powder
Baking Soda
Sugar
Salt
Frozen Stick of Butter
Whole Milk
Lemon

TOOLS

Mixing Bowl
Rolling Pin
Cutting Board
Whisk
Knife
Parchment
Food Processor
Measuring Spoons
Wide Mouthed Glass
Silicone Brush

First things first, put a stick of butter in the freezer.


MAKING HOMEMADE BUTTERMILK


Now that you have your homemade buttermilk and it is chilling in the fridge and your butter is in the freezer, we are off to the races.


Open your flour and transfer it gingerly to a large plastic storage container. This will make it easier to work with and help cut down on the mess. I was grooming and noticed a light dusting of Baker Josef's Unbleached All-Purpose Flour.


You will need to put 2 Cups of Flour in a large mixing bowl. Use a butter knife to smooth it off and get rid of excess.


Add 1 Teaspoon of Salt.


Add 1 Tablespoon of Sugar.


This is the sugar we used.


Add 1 Teaspoon of Baking Soda. Use the lip of the container to smooth out your Teaspoon. 


Add 1 Tablespoon of Baking Powder.


Whisk your dry ingredients together. It is important to have a light touch.


Remove your butter from the freezer. It should have been in there for at least 15-20 minutes.


Slice 1 stick of butter (equivalent to 1/2 cup) into cubes. Use a knife that is large enough to have leverage. Be careful to not cut your paw off.


Place cubes of butter in your food processor.


Add your biscuit mix on top of the butter. You may have to do this in a couple of batches depending on the size of your food processor.


Blitz. Your goal is to have little pebbles of frozen butter spread evenly throughout your dry ingredients. 

Preheat your oven to 425 degrees.


Retrieve your homemade buttermilk from the fridge and add in... slowly.


Spread some flour on a cutting board.


Mix your wet and dry ingredients together with your hands until the mixture stops sticking to the side of the mixing bowl. Transfer to the cutting board. The Small One forgot to put flour on her hands. Excess flour helps to keep the mixture from sticking to various surfaces, including hands.


Make sure to coat your rolling pin with flour.


Roll out to 1/2 inch thickness.


Put parchment on a cookie sheet. 


Use a wide mouthed glass and cut discs. Make sure to dip the rim in flour beforehand.


Place evenly on your parchment covered cookie sheet. Put in oven which was preheated to 425 degrees for 14 minutes. Because ovens vary, you might want to do a test. Place your tray of uncooked biscuits in the fridge and cut one biscuit from the remaining mix. Place it on a small tray with a bit of parchment and check it at about 10 minutes. Use your judgement. You want it golden brown, but not dried out.


When they come out of the oven, brush the tops with melted butter. 


You should end up with delicious golden brown flaky biscuits. 


My family likes theirs with butter and local honey.


Bonus: You can make Bat-Biscuits (or other fun shapes) with the leftover biscuit mixture. These will require less cooking time due to the smaller size. 

Enjoy!